How to Fill In Your Eyebrows Like a Pro
Natural, defined, never-blocky brows — the pro approach to mapping, choosing your shade, and filling in eyebrows step by step.
By Oksana, Lead Lash Artist · Updated June 2026 · 7 min read
Written by the Luxury Lashes team and reviewed by Oksana, our studio owner and lead lash artist, drawing on years of hands-on experience serving clients in Federal Way, WA.
Well-filled brows frame your whole face, but the line between natural-looking and overdone can feel tricky to find. The good news is that the pro method is simpler than it looks.
Learning how to fill in your eyebrows comes down to three things: the right tools, the right shade, and a light hand. Here is the exact step-by-step approach we use at our Federal Way studio to create soft, defined, natural brows every time.
Start with the right tools
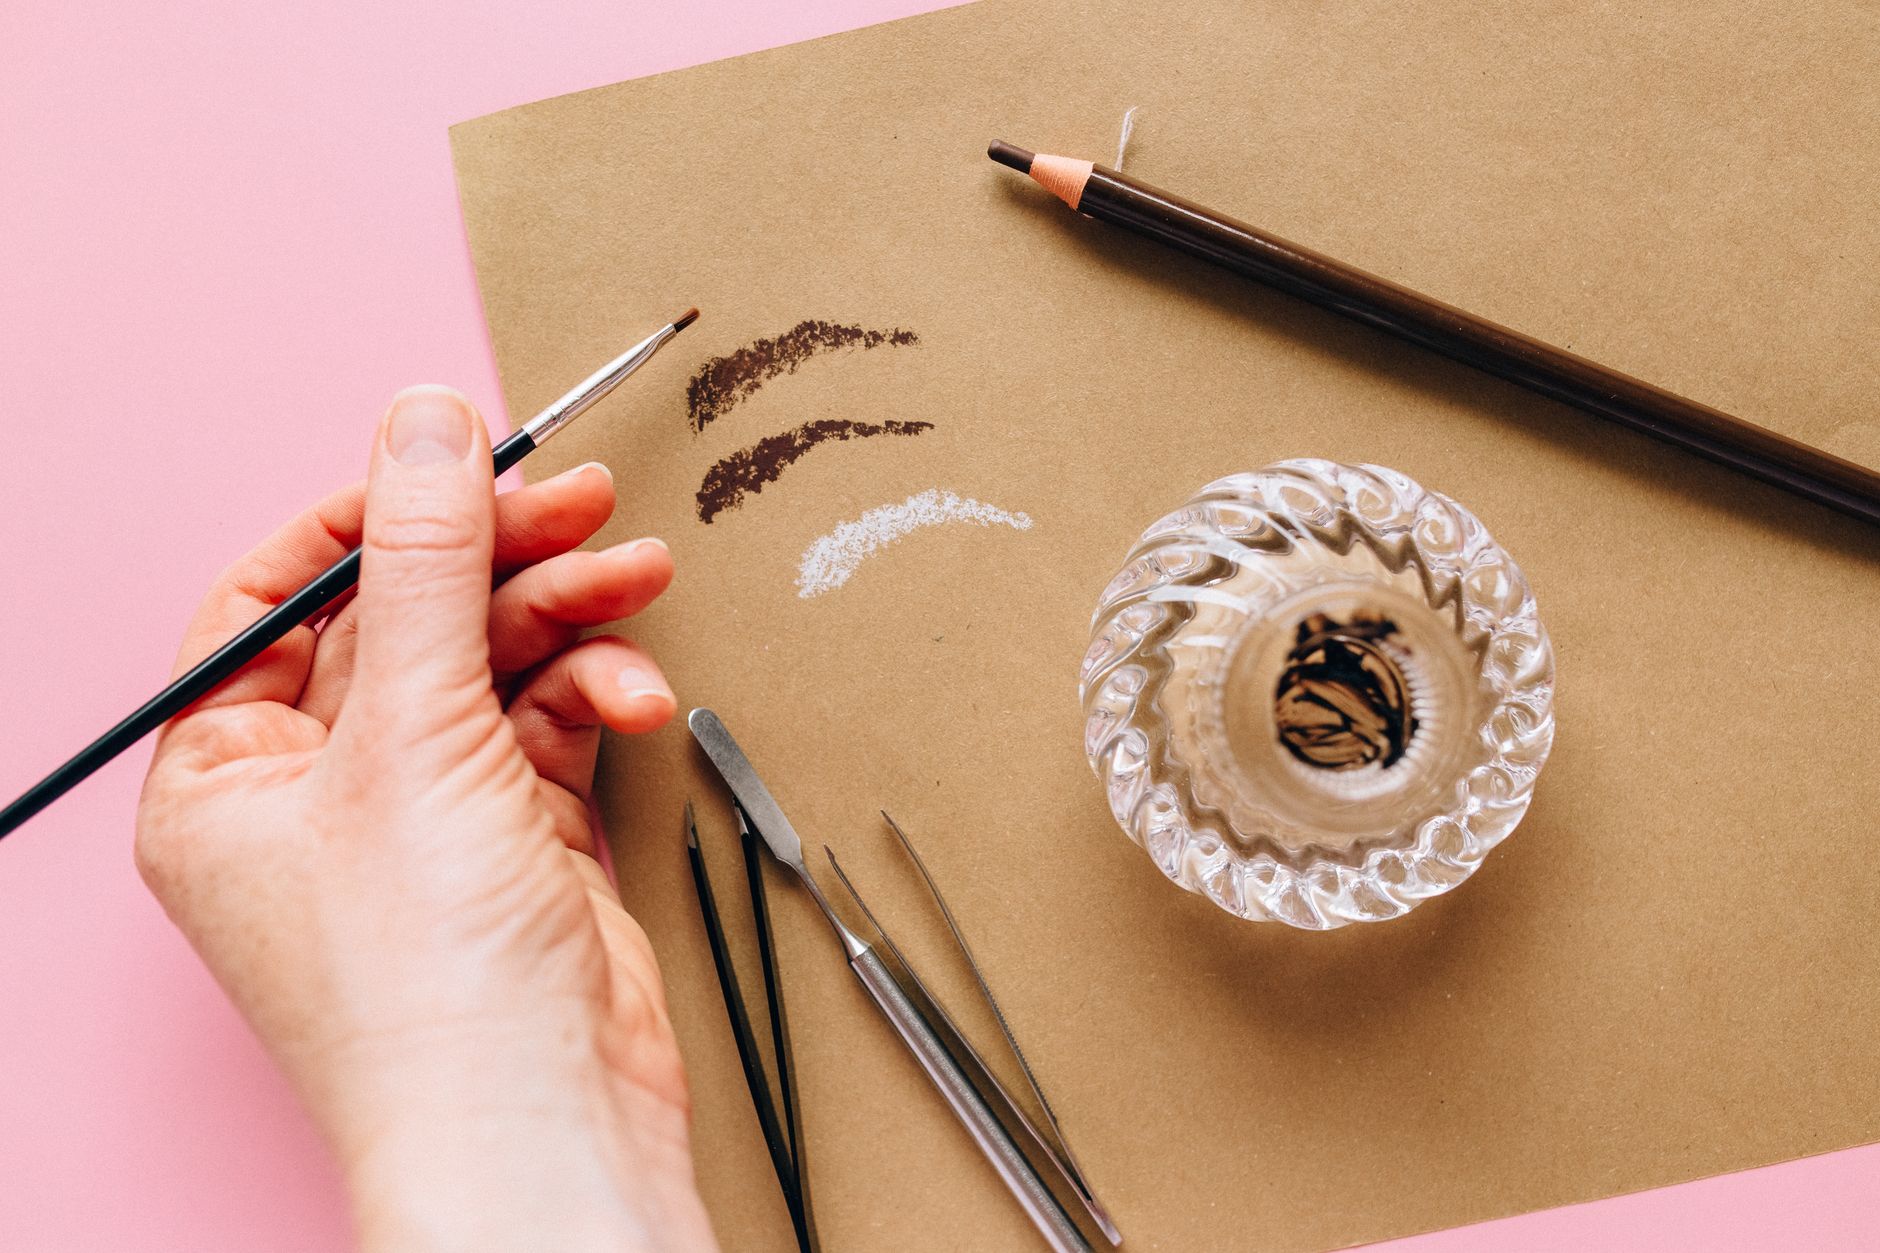
Before you fill anything in, gather a small kit. You do not need much, but the right products make a huge difference to the finish.
- A fine brow pencil for crisp, hair-like strokes
- A brow powder or pomade for soft, diffused depth
- An angled brush and a clean spoolie for blending
- A tinted or clear brow gel to set the hairs in place
- A little concealer to clean up and sharpen the edges
If your brows are naturally sparse, supporting their growth helps too — our guide to growing thicker eyebrows covers the long game.
Map your brows before you fill
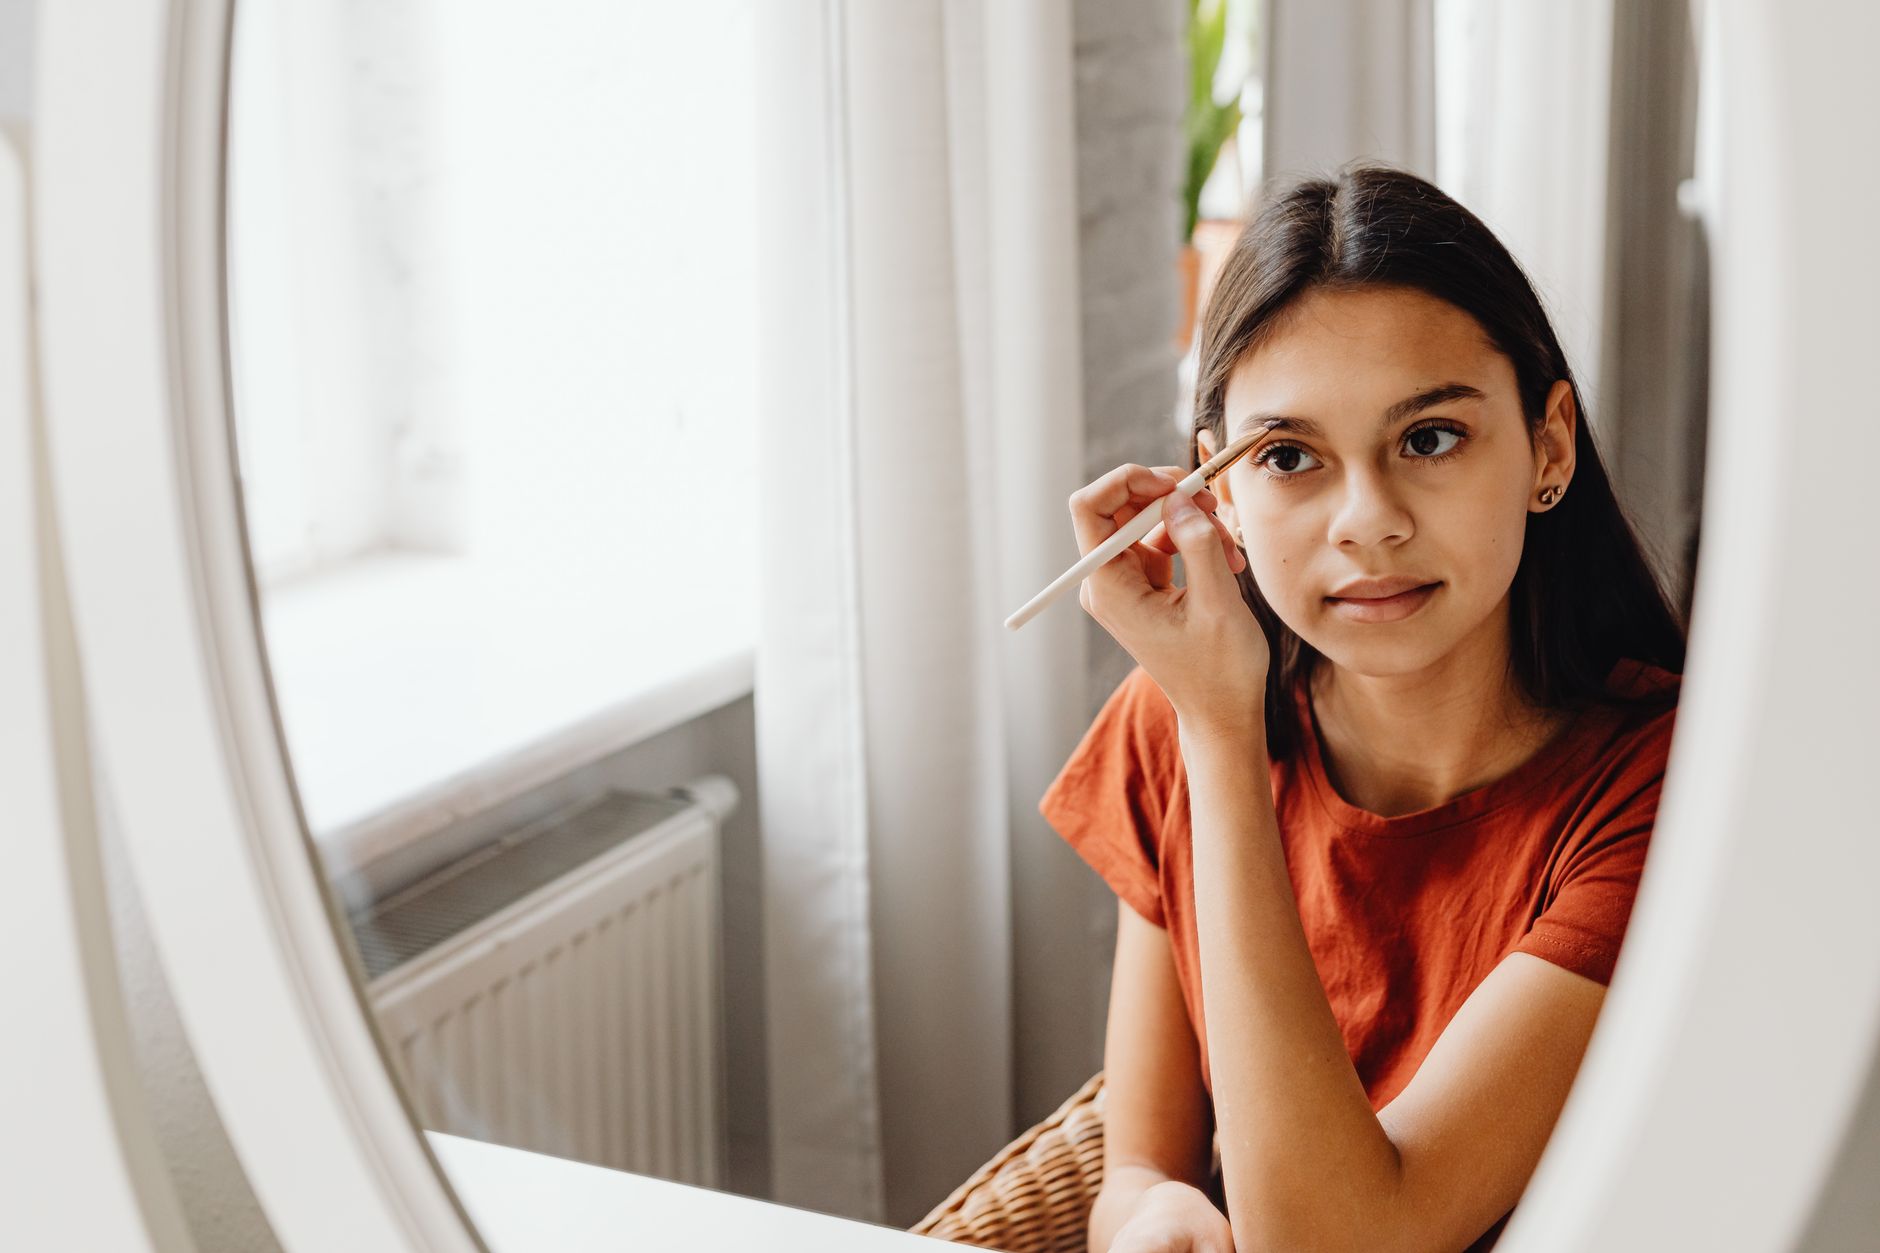
Professionals never fill in blindly — they map the brow first so both sides are balanced. The classic three points are your guide:
- The brow should begin in line with the side of your nose
- The arch sits roughly above the outer edge of your iris
- The tail ends where a line from your nostril to your outer eye corner points
- Lightly mark these three points, then fill within them
This is the same principle behind professional brow mapping, and it is the secret to even, flattering brows. Choosing a shape that suits you matters too — see our guide to eyebrow shapes for your face shape.
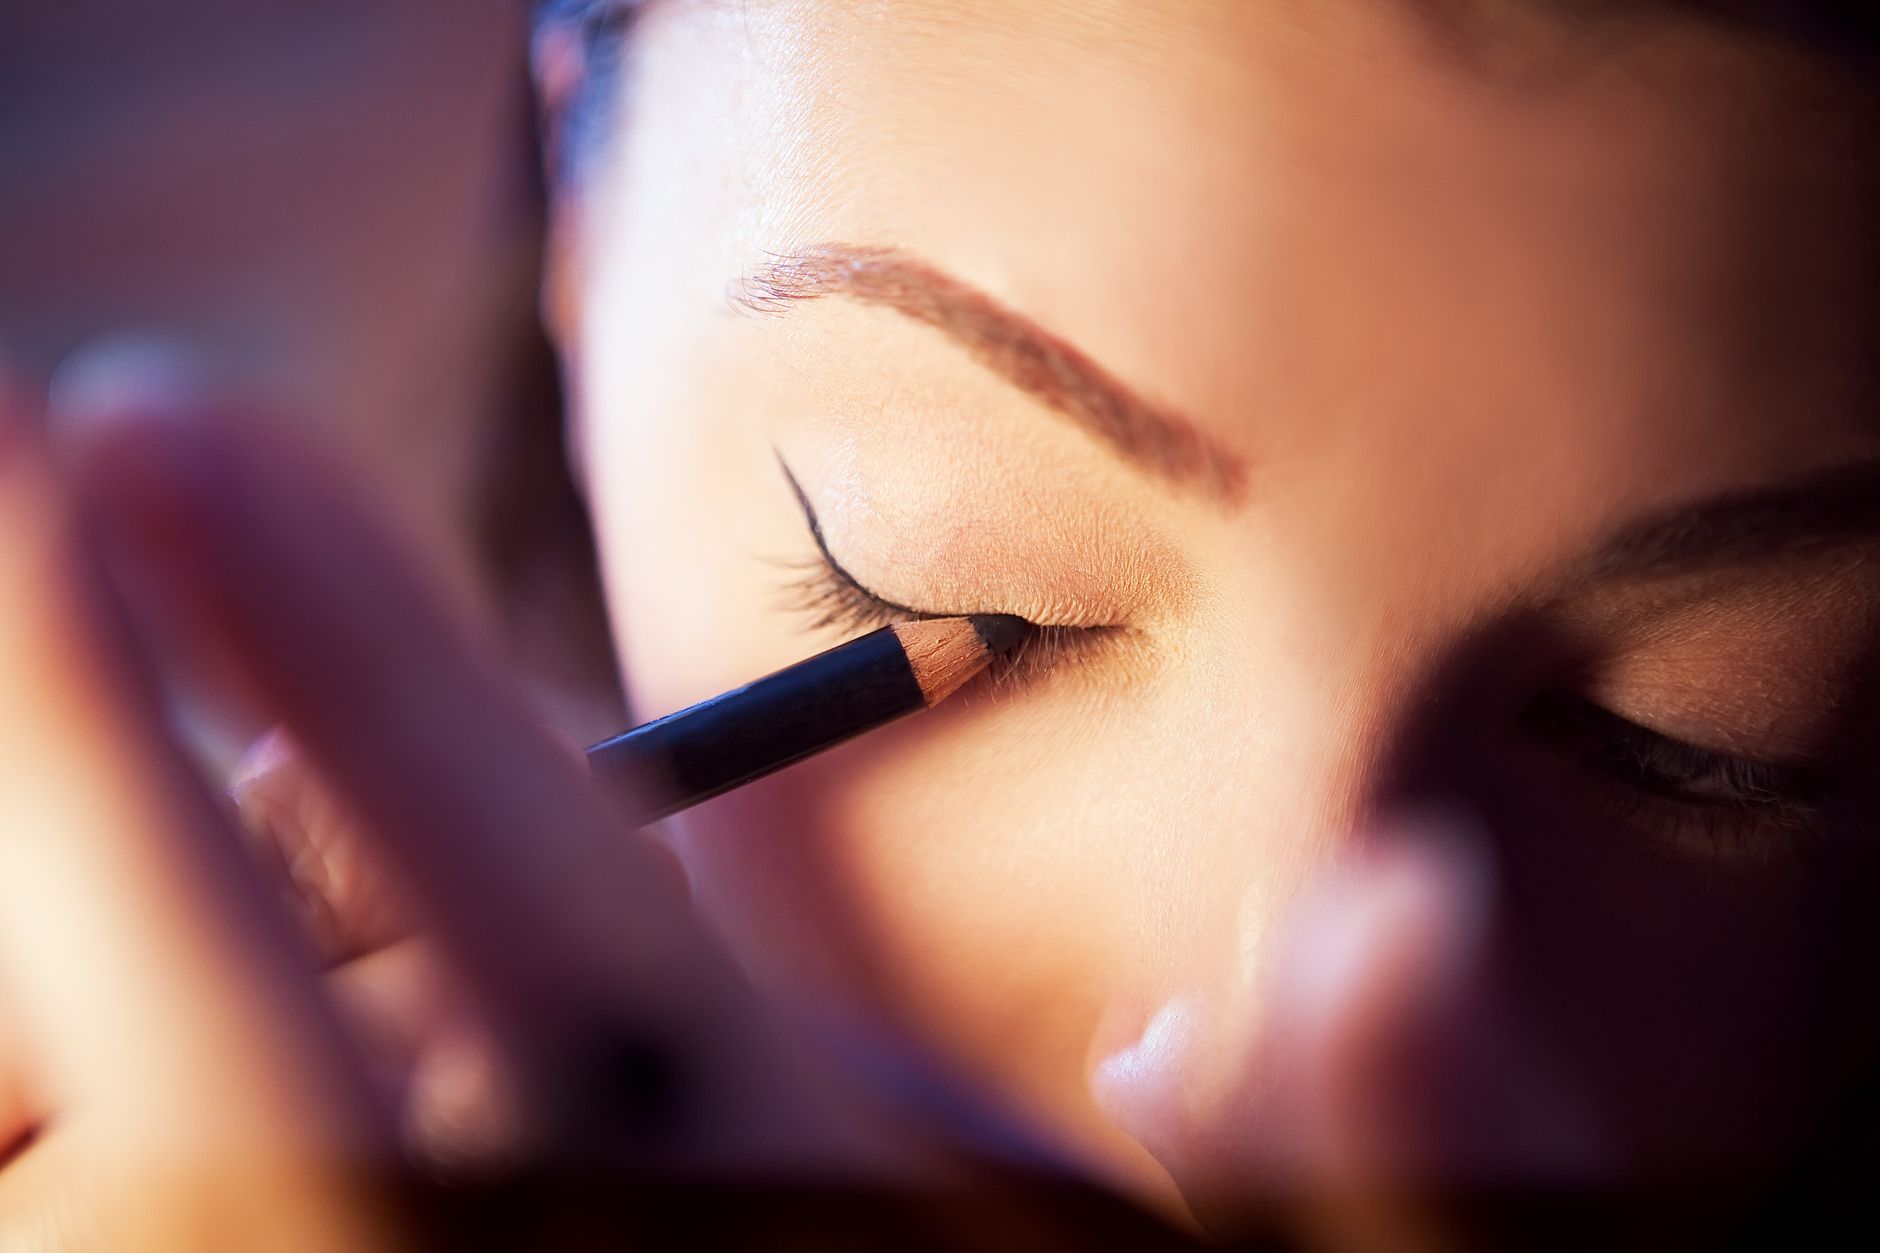
Choose the right shade
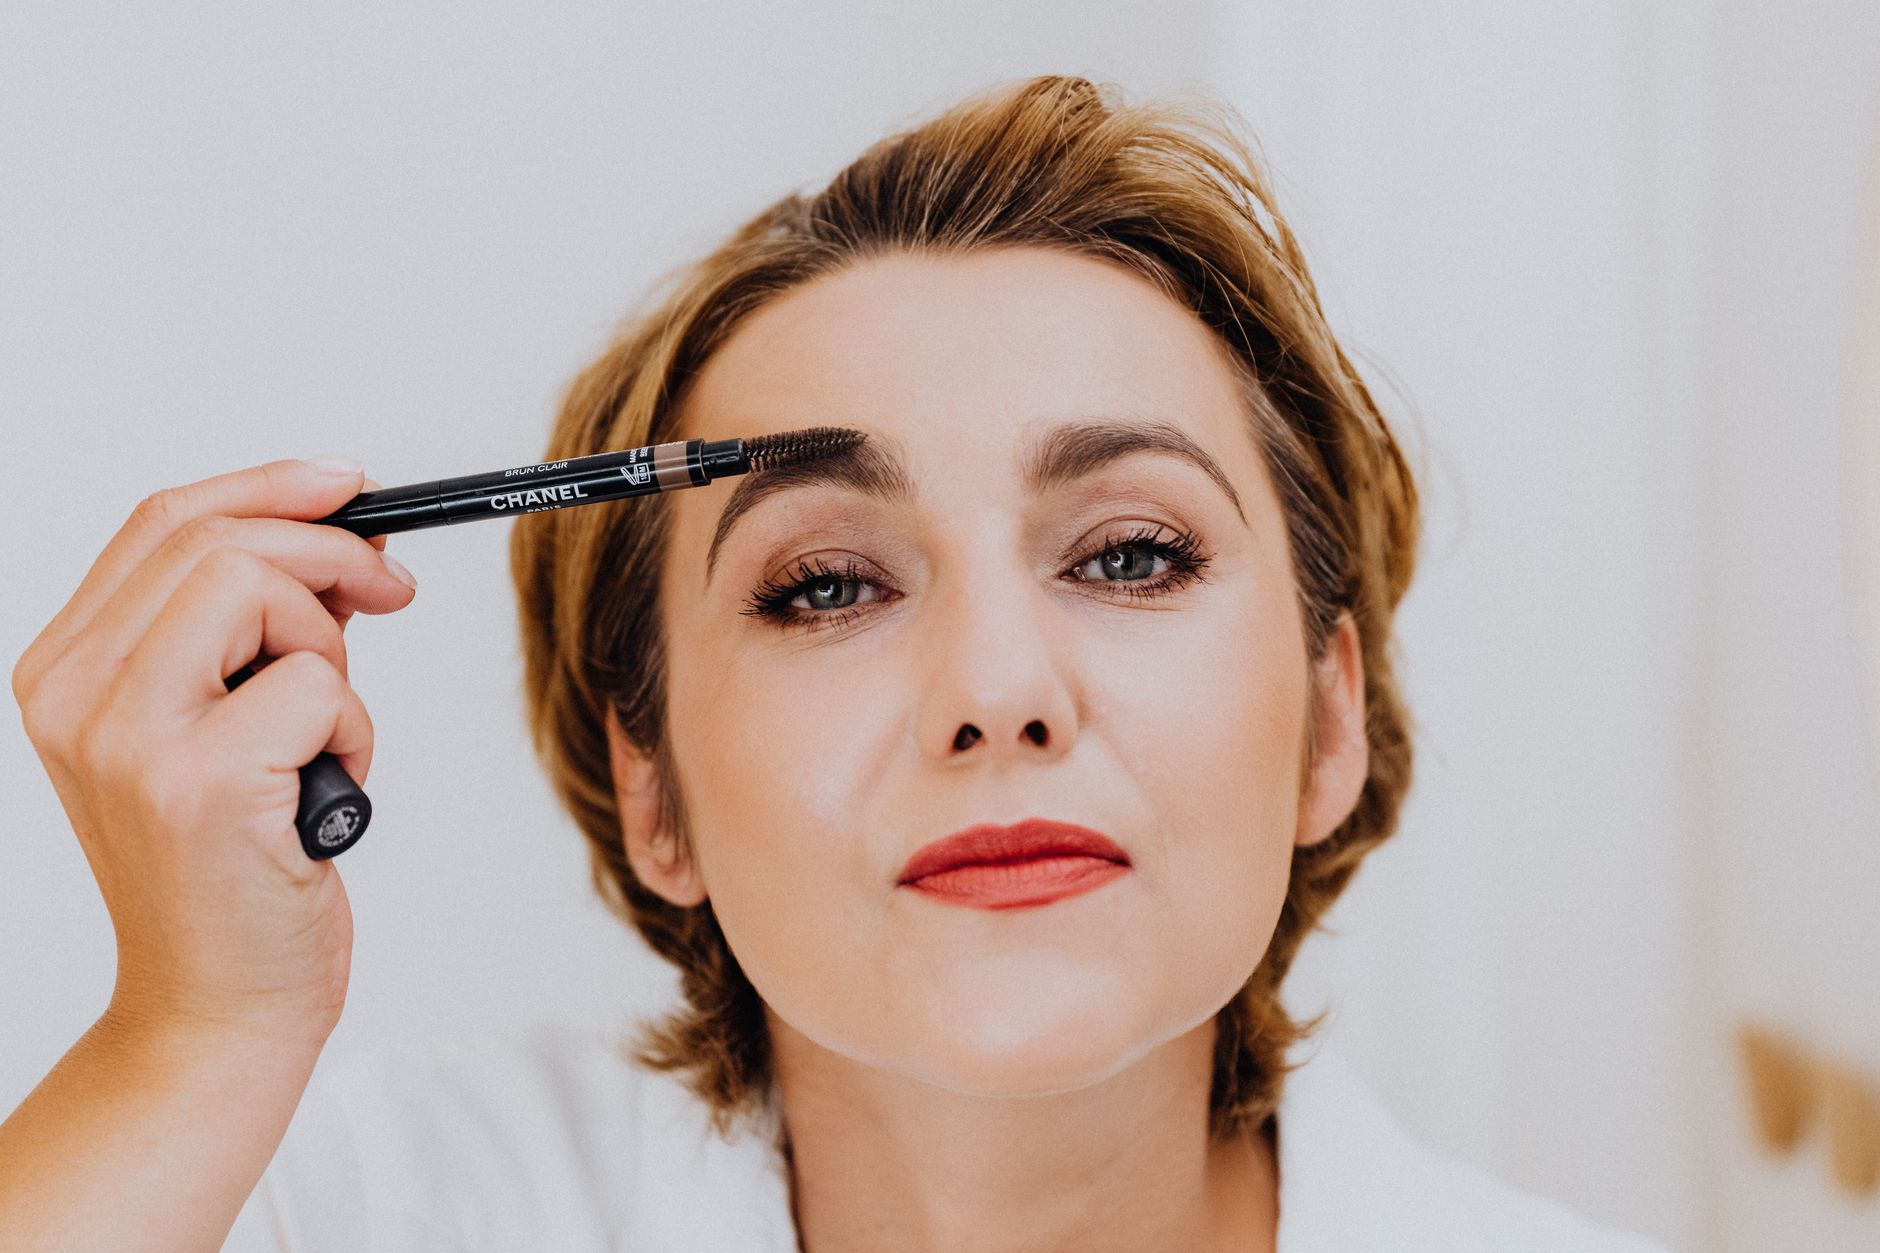
Shade is where most brow mistakes happen. The aim is to match your brow hairs, not the hair on your head, for a result that looks like it grew there.
If you have dark hair, go one shade lighter than you think; if you are very fair, a soft taupe or a shade slightly deeper than your hairs adds definition without harshness.
When you are unsure, always lean lighter and softer — you can build more colour, but heavy, too-dark brows are the fastest way to look overdone.
The step-by-step fill
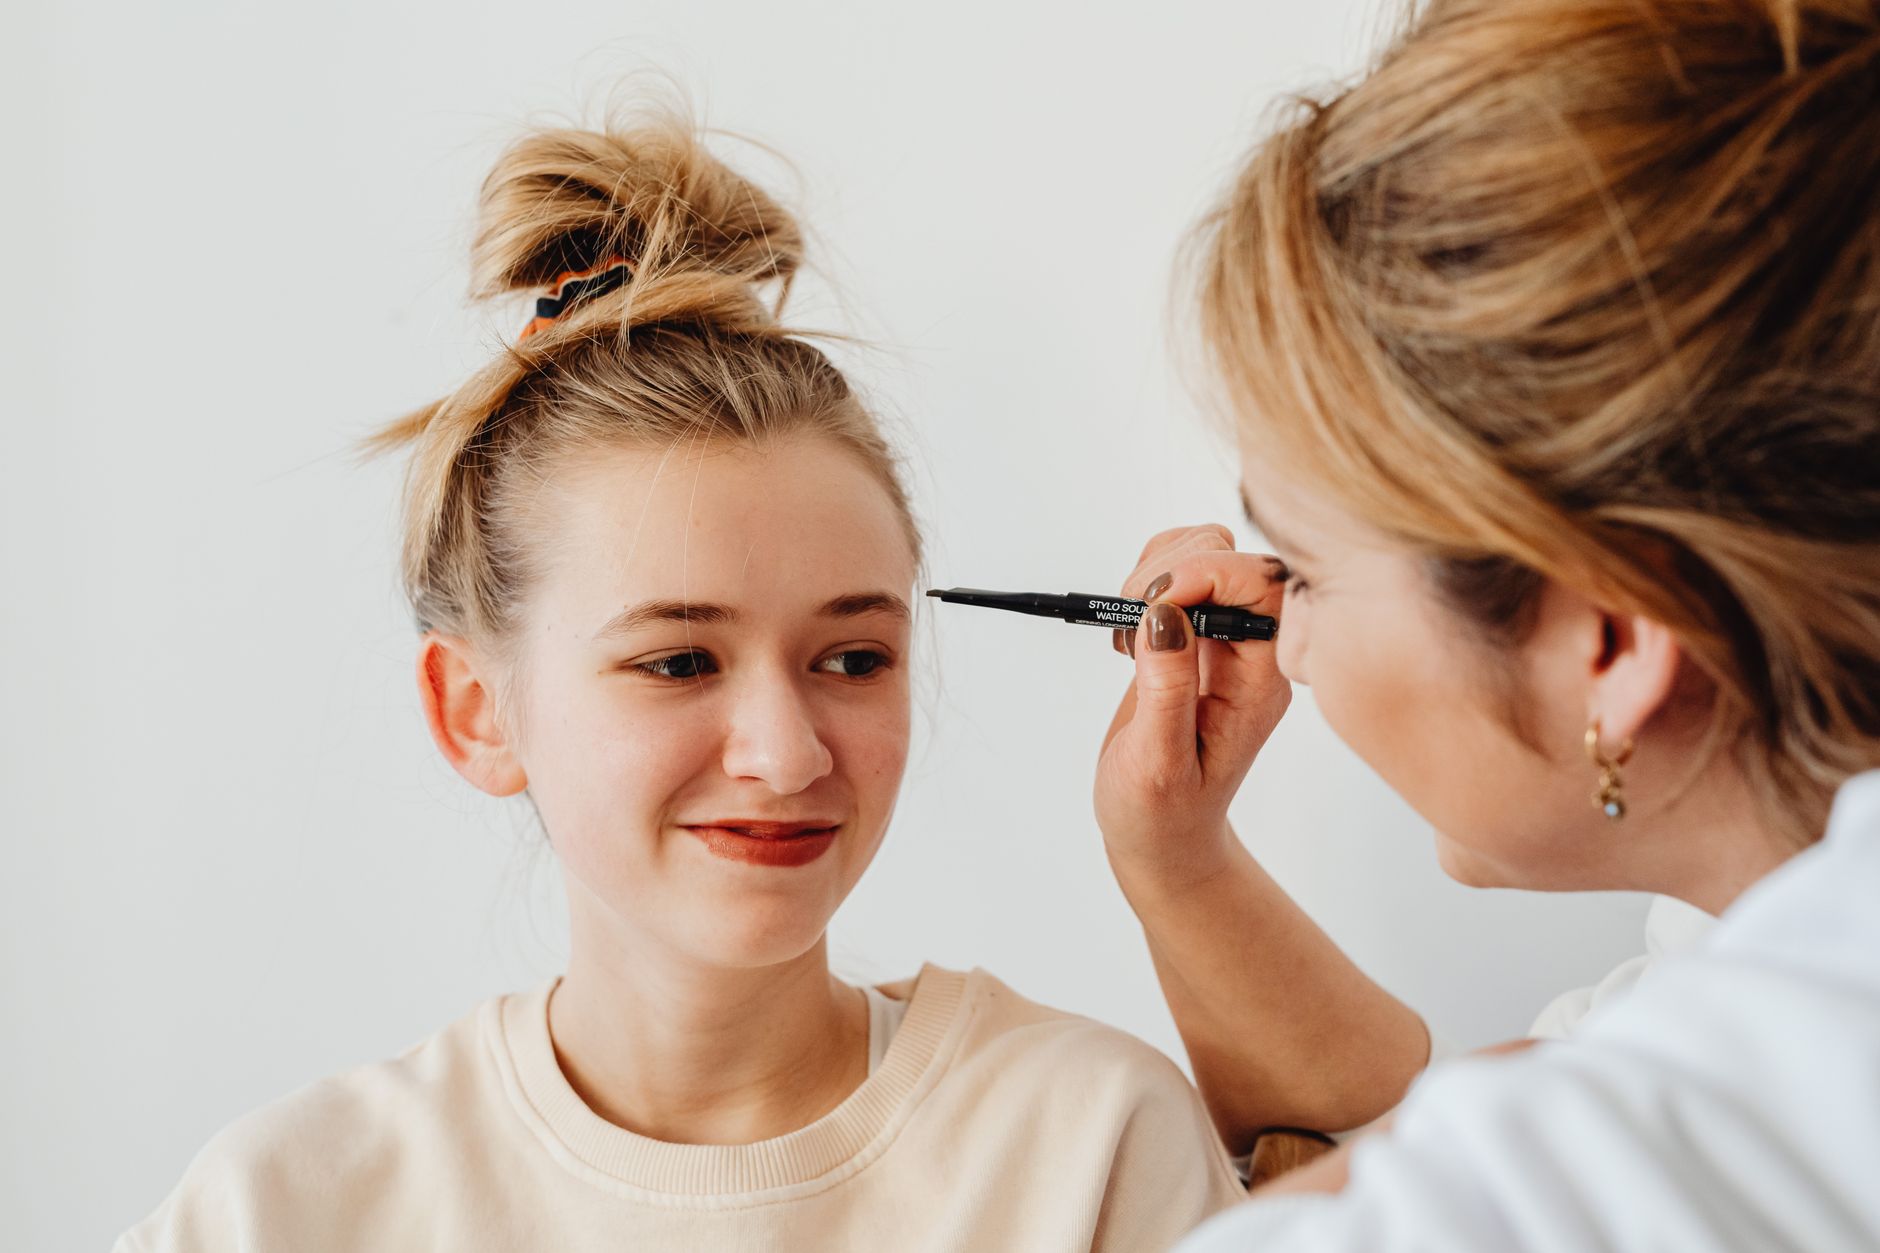
With your tools, map and shade sorted, the actual filling is quick. Work in light layers and step back often to check both brows match:
- Brush the hairs up and out with a spoolie to see the natural shape
- Use light, feathery strokes in the direction of hair growth, focusing on sparse gaps
- Keep the front of the brow soft and build slightly more depth toward the arch and tail
- Blend with the spoolie so no harsh lines remain
- Set everything with a brow gel, then tidy the edges with a little concealer
Common mistakes to avoid
A few simple habits keep your brows looking natural rather than drawn-on. Watch out for these:
- Pressing too hard and creating a solid, blocky front
- Choosing a shade that is too warm or too dark
- Over-plucking, which leaves gaps that are hard to fill
- Skipping the spoolie, which is what blends product into hairs
If filling in your brows every morning starts to feel like a chore, a professional treatment can shortcut the whole routine. You can book a brow appointment online whenever you like.
Choosing safe, gentle products
Because brow products sit so close to your eyes, it is worth being a little choosy. Keep brushes clean, replace old or dried-out products, and patch test anything new if your skin is sensitive.
For general guidance on using cosmetics safely around the eye area, the makeup safety advice from the U.S. Food & Drug Administration is a helpful reference, especially around hygiene and shelf life.
The bottom line
Filling in your eyebrows like a pro is all about mapping the shape, matching your shade, and using a light, feathery hand to build natural depth. Master those three steps and you will get balanced, polished brows in minutes.
If you would rather wake up with fuller brows and skip the daily fill, explore our full brow services or visit our Federal Way studio for a quick consultation, and check current rates on our price list.

Pencil, powder or pomade: which should you use?
The product you reach for shapes the whole finish, so it helps to know what each one does. A brow pencil with a fine tip is the most beginner-friendly choice, because it lets you draw individual hair-like strokes to fill gaps precisely.
Powder applied with an angled brush gives a softer, more diffused look that flatters fuller brows and reads very natural in photos. It is forgiving and easy to blend, which makes it ideal if you find pencils too sharp or precise.
Pomade offers the most definition and longest wear, so it is popular for events and humid days, but it has a steeper learning curve and can look heavy if you are not careful. Many people combine products, using a pencil for detail and powder to soften.
Whatever you choose, finishing with a tinted gel locks the hairs and product in place all day. If you prefer more permanent fullness, a treatment like brow lamination can reduce how much product you need.
How professional brow treatments make filling easier
Filling in your brows is a skill worth having, but it becomes far quicker when your natural brows are already groomed and defined. That is exactly what professional brow services are designed to do.
A brow tint deepens fair or fine hairs so sparse areas look fuller, meaning you may only need a light touch of product, if any. Our guide to brow tinting explains how long it lasts and what to expect.
Lamination goes a step further by smoothing unruly hairs into a fuller, brushed-up shape, so your brows hold their form without daily styling. Shaping with mapping ensures the underlying structure is balanced before you ever pick up a pencil.
Combining these treatments with a light morning fill gives you the best of both worlds: a natural base that needs minimal makeup. Book a shaping or tint appointment any time through our Federal Way studio.
Filling in sparse or over-plucked brows
If years of plucking or waxing have left gaps, filling in your brows takes a slightly gentler, more patient approach. The trick is to fake fullness without drawing attention to the bare patches.
Use very fine, hair-like strokes that mimic real growth across the sparse areas, rather than blocking colour in solidly. Building thin layers and blending with a spoolie keeps even thin brows looking believable and soft.
At the same time, work on encouraging real regrowth so you rely less on makeup over time. Resisting the urge to tweeze, nourishing the hairs, and giving them months to recover all help, as covered in our guide to growing thicker eyebrows.
For very sparse brows, a fuller shape created through professional shaping for your face gives your fill something to work with, so even over-plucked brows can look full again.
Frequently Asked Questions
What should I use to fill in my eyebrows?
How do I choose the right brow shade?
How do I fill in my eyebrows without them looking blocky?
Should I fill in my eyebrows before or after foundation?
Do I still need to fill in my brows if I get them tinted or laminated?
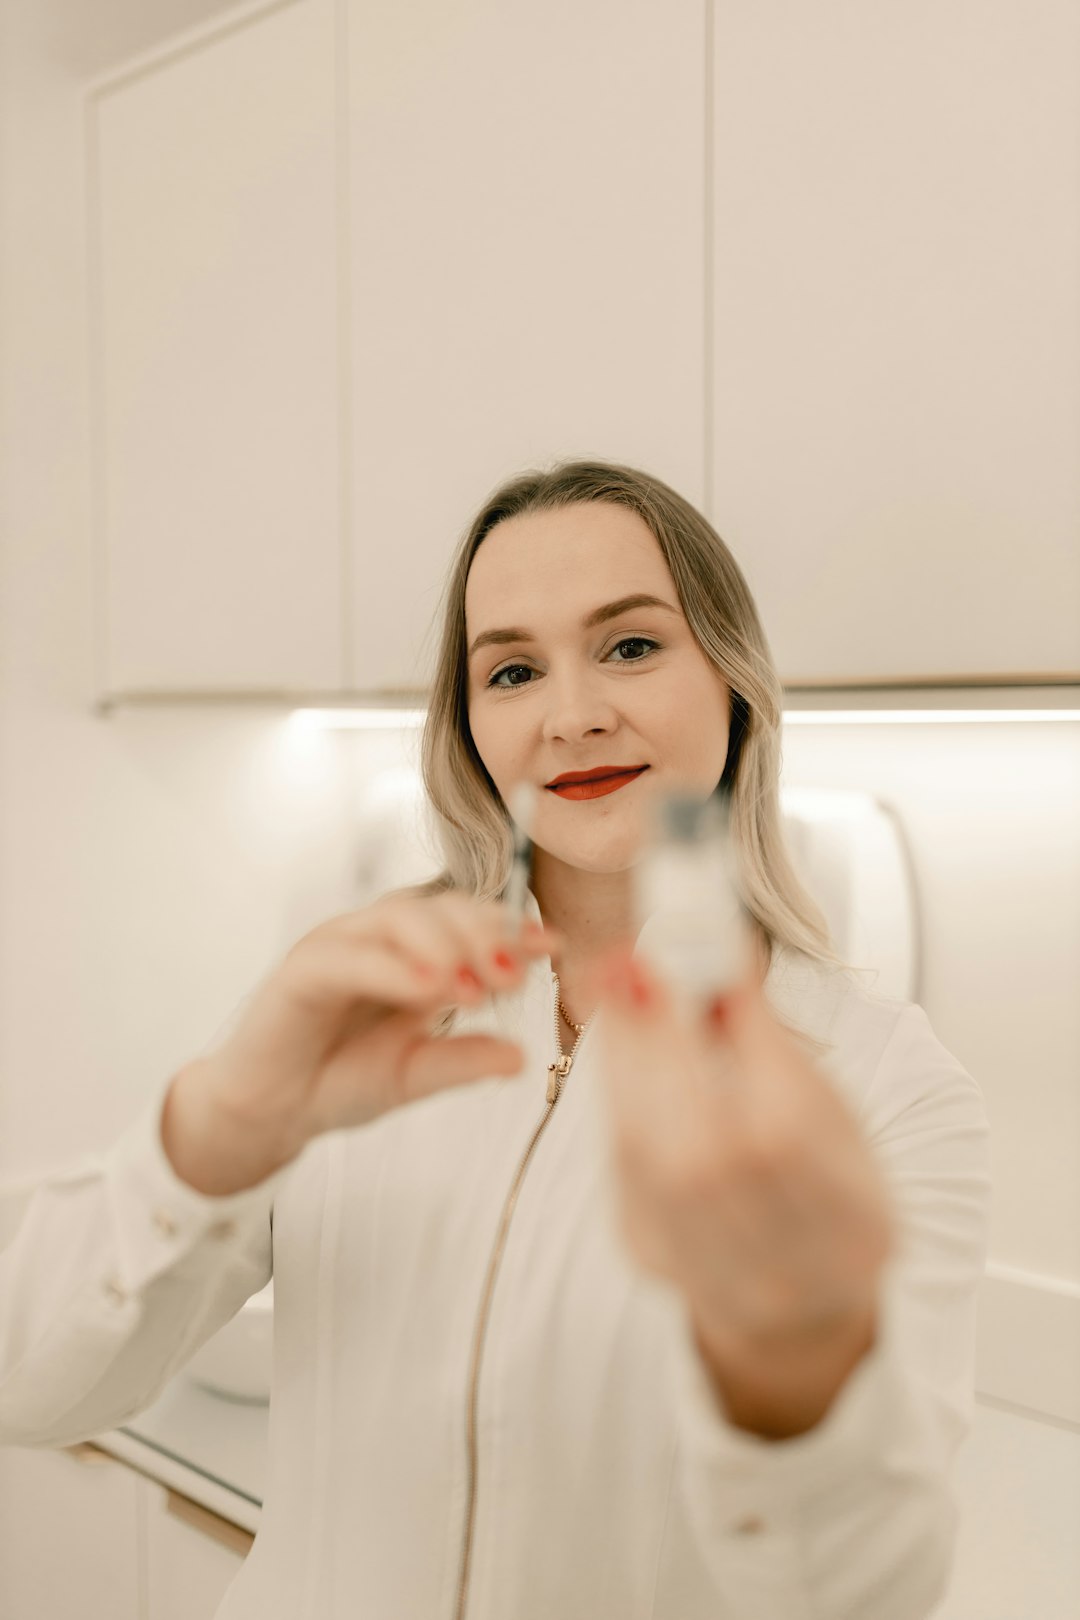
About the Author — Oksana
Oksana is the owner and lead lash artist at Luxury Lashes, a premium beauty studio in Federal Way, WA. She and her team specialize in eyelash extensions, lash lifts, brows, skin, body and nail services, and are committed to safe technique, premium products, and results clients love. Learn more about our studio and team.
Ready for Beautiful Lashes & Brows?
Book your appointment at Luxury Lashes in Federal Way, WA — our team will help you choose the perfect look.
Book Your AppointmentQuestions first? Call us at (206) 451-0363